Quickstart
Quickstart
Process analysis using Process360 Live | Mining consists of several main steps:
- The creation of your projects via the home page
- Adding data to the project
- Start the analysis once the data has been processed
In the following, we will review these different steps on an example file. You can reproduce this, step by step, by downloading the following CSV example file, using this link: Example File.
1. Create a project
From the Process360 Live home page, create a new project, by clicking on the "+" button which is located after the projects of your workgroup. If you are not yet added to your workgroup, contact your support.

The following popup then opens:
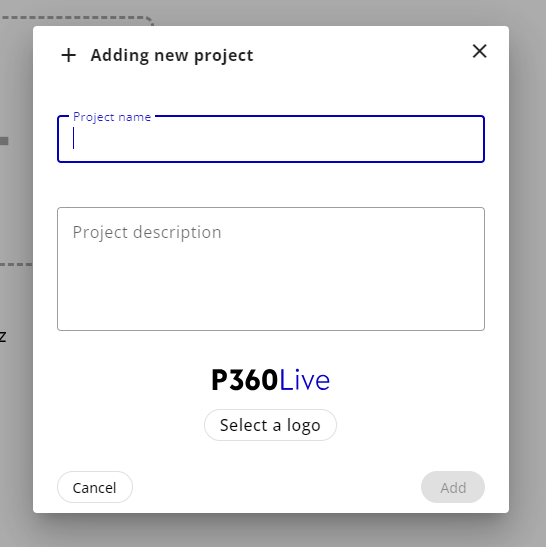
Enter a project name (required) and a description (optional) in the fields provided. You can also select a logo for this project.
Then click on the "Add" button to create the project.
And voila! You have created your first project on Process360 Live. Easy isn't it? Now let's go to the step of adding data!
2. Add data to a project
Once the project is created, it is visible in your workgroup.
Click on the "Open" button of the card to open the project.
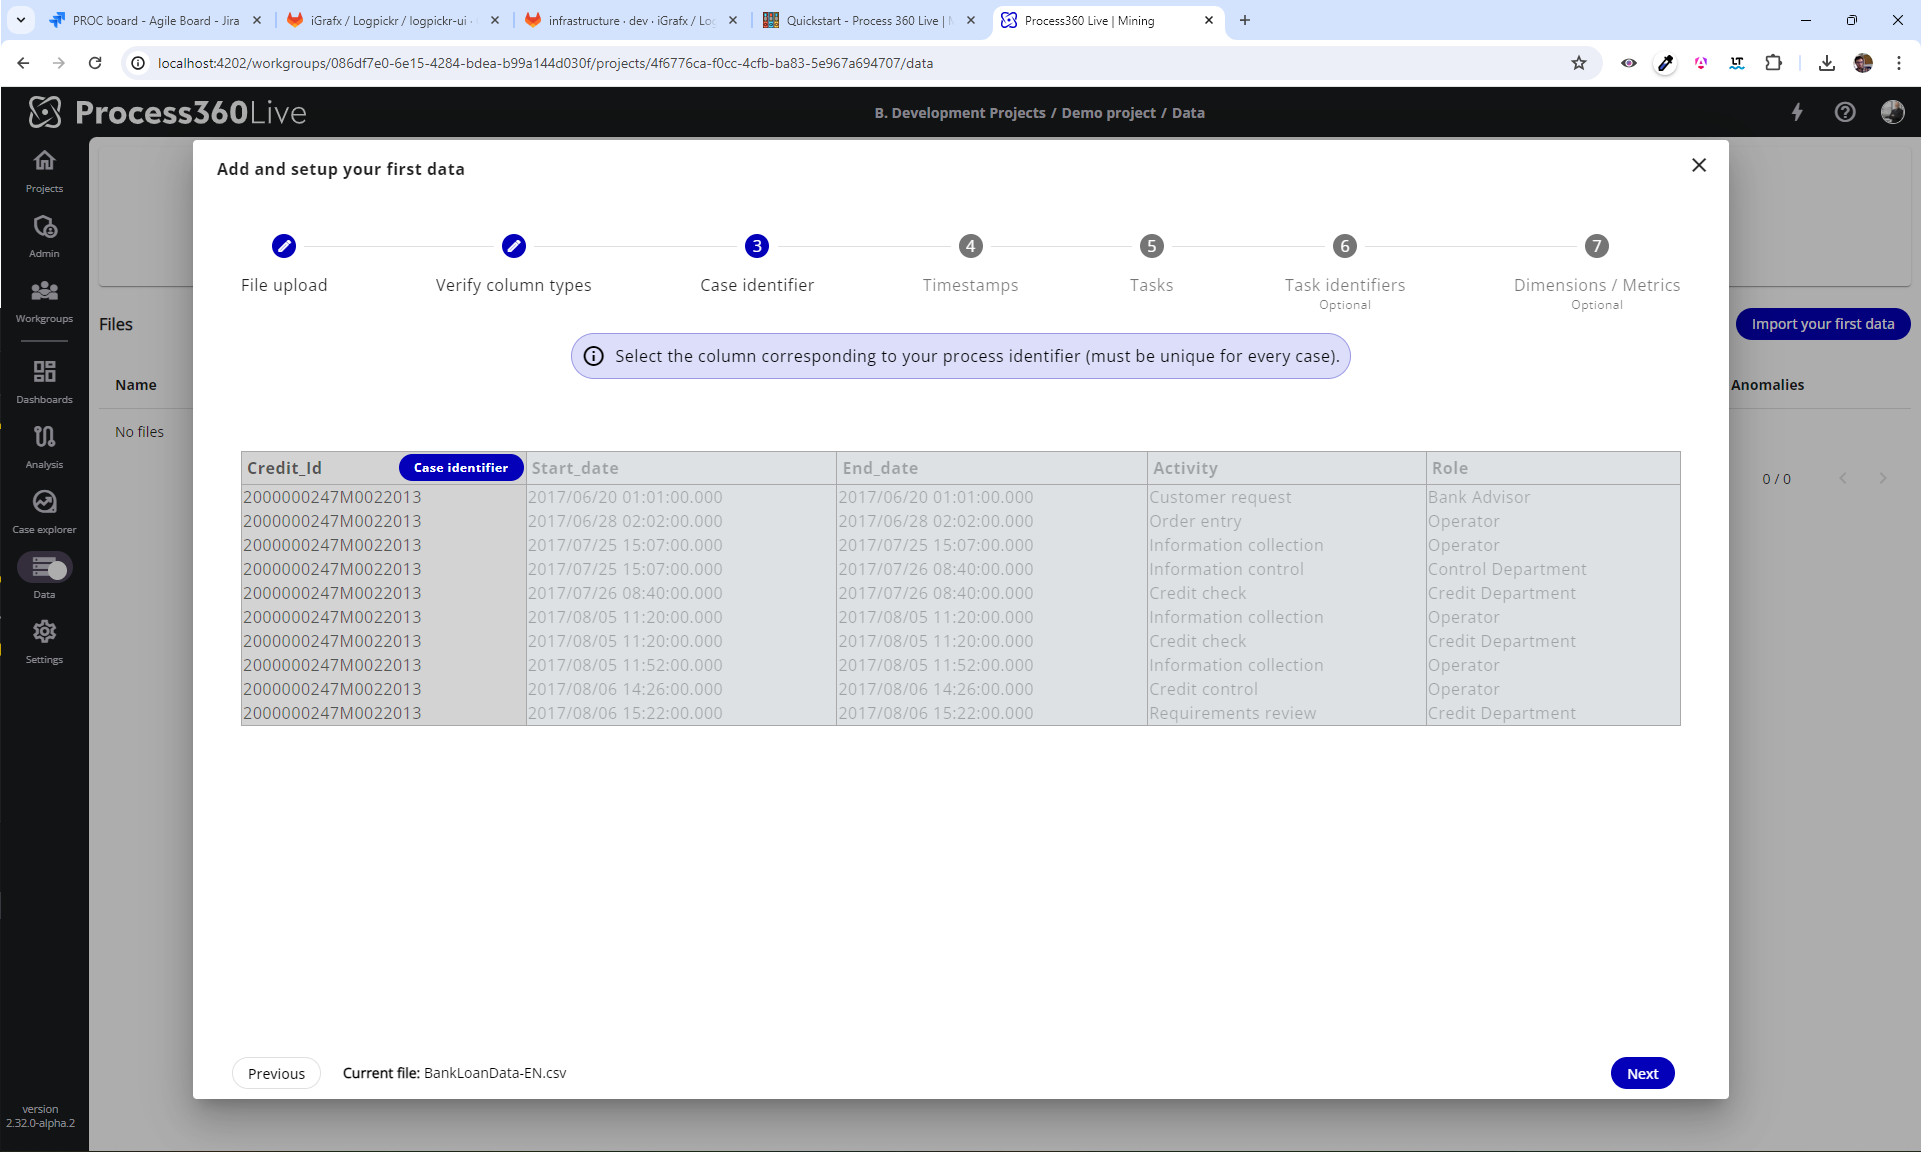
Import your event log file
The following popup opens to request an event log to import, you can choose a file from your file explorer (by clicking the "Import a file" button) between those 3 options:
- CSV file
- Excel file
- ZIP folder containing CSV or Excel files (1 unique file recommended)
In the opened file explorer, select the CSV example file that you downloaded at the beginning of the chapter (if you haven't, here's the link: Example File).
The file will then be parsed and displayed in the next step.
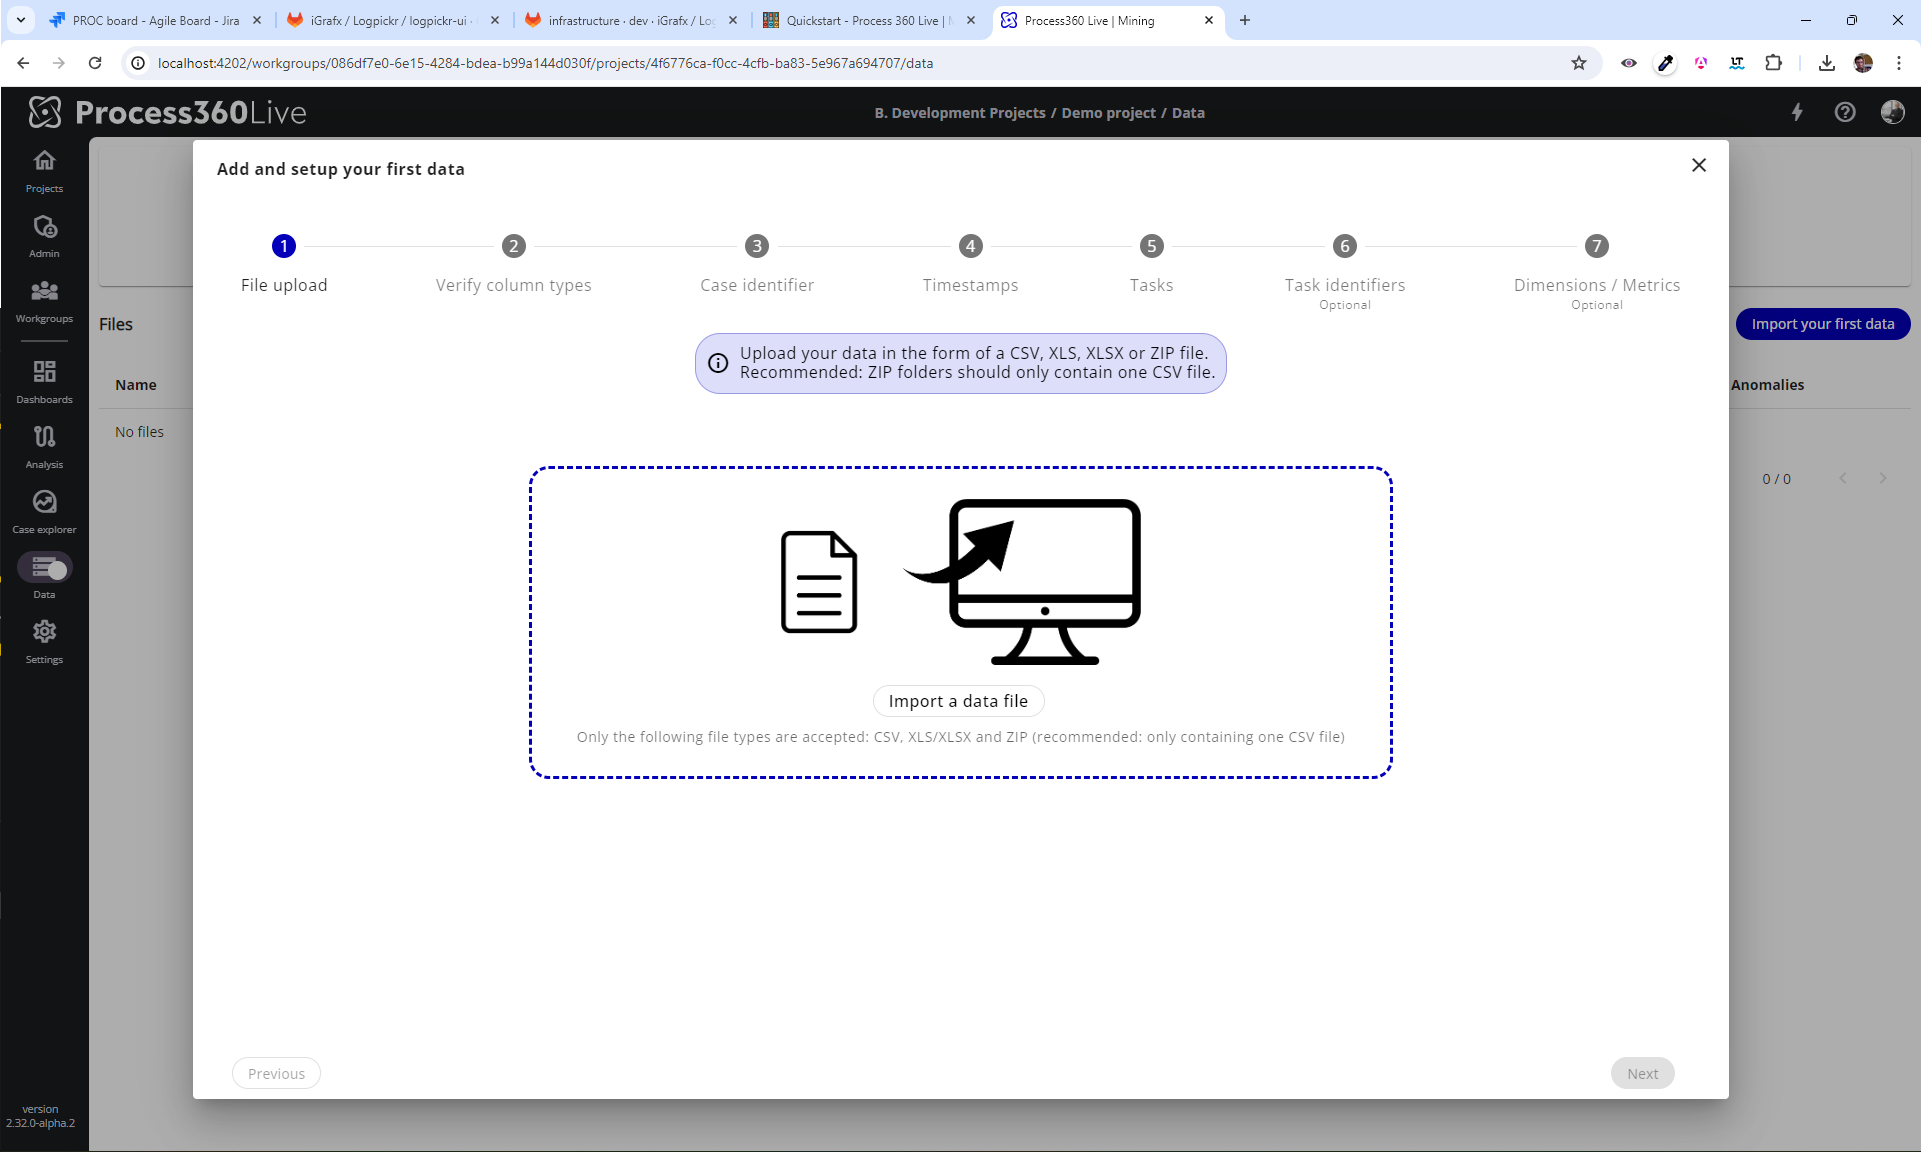
Column typing and date format verification
Process360 Live now asks you to verify that the data formats correspond to those automatically detected (for more details on this part, see the section Project → Add data to a project).
To go to the next step, click on the "Next" button, at the bottom right of the popin.
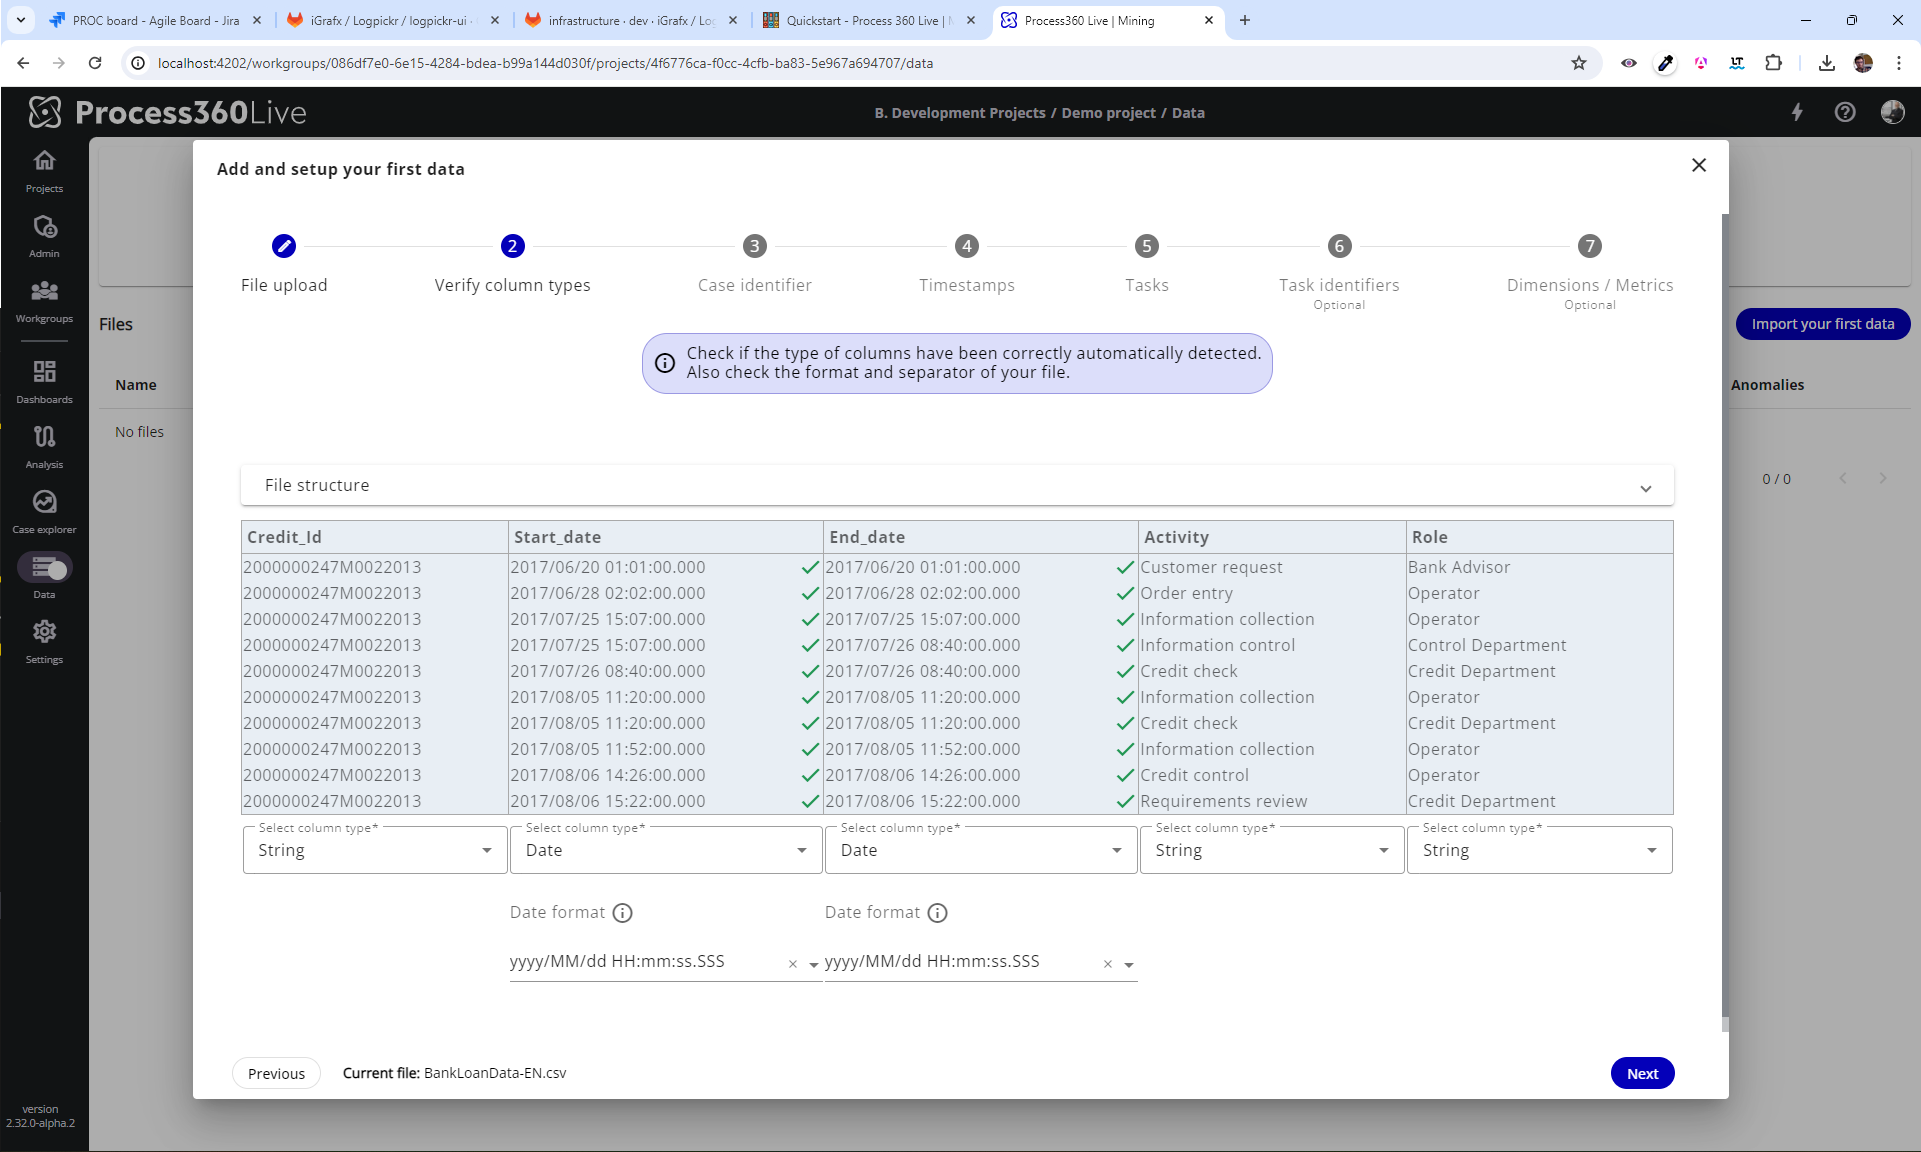
CaseID selection
The following steps consist in selecting the various compulsory columns for the construction of a process analysis (for more details on these columns, see the section Project → Prerequisites).
The first column to select is the unique case identifier.
Click on the "Credit_Id" column to select it. The app automaticaly moves you to the next step, if it doesn't click on the "Next" button, at the bottom right.
Timestamp selection
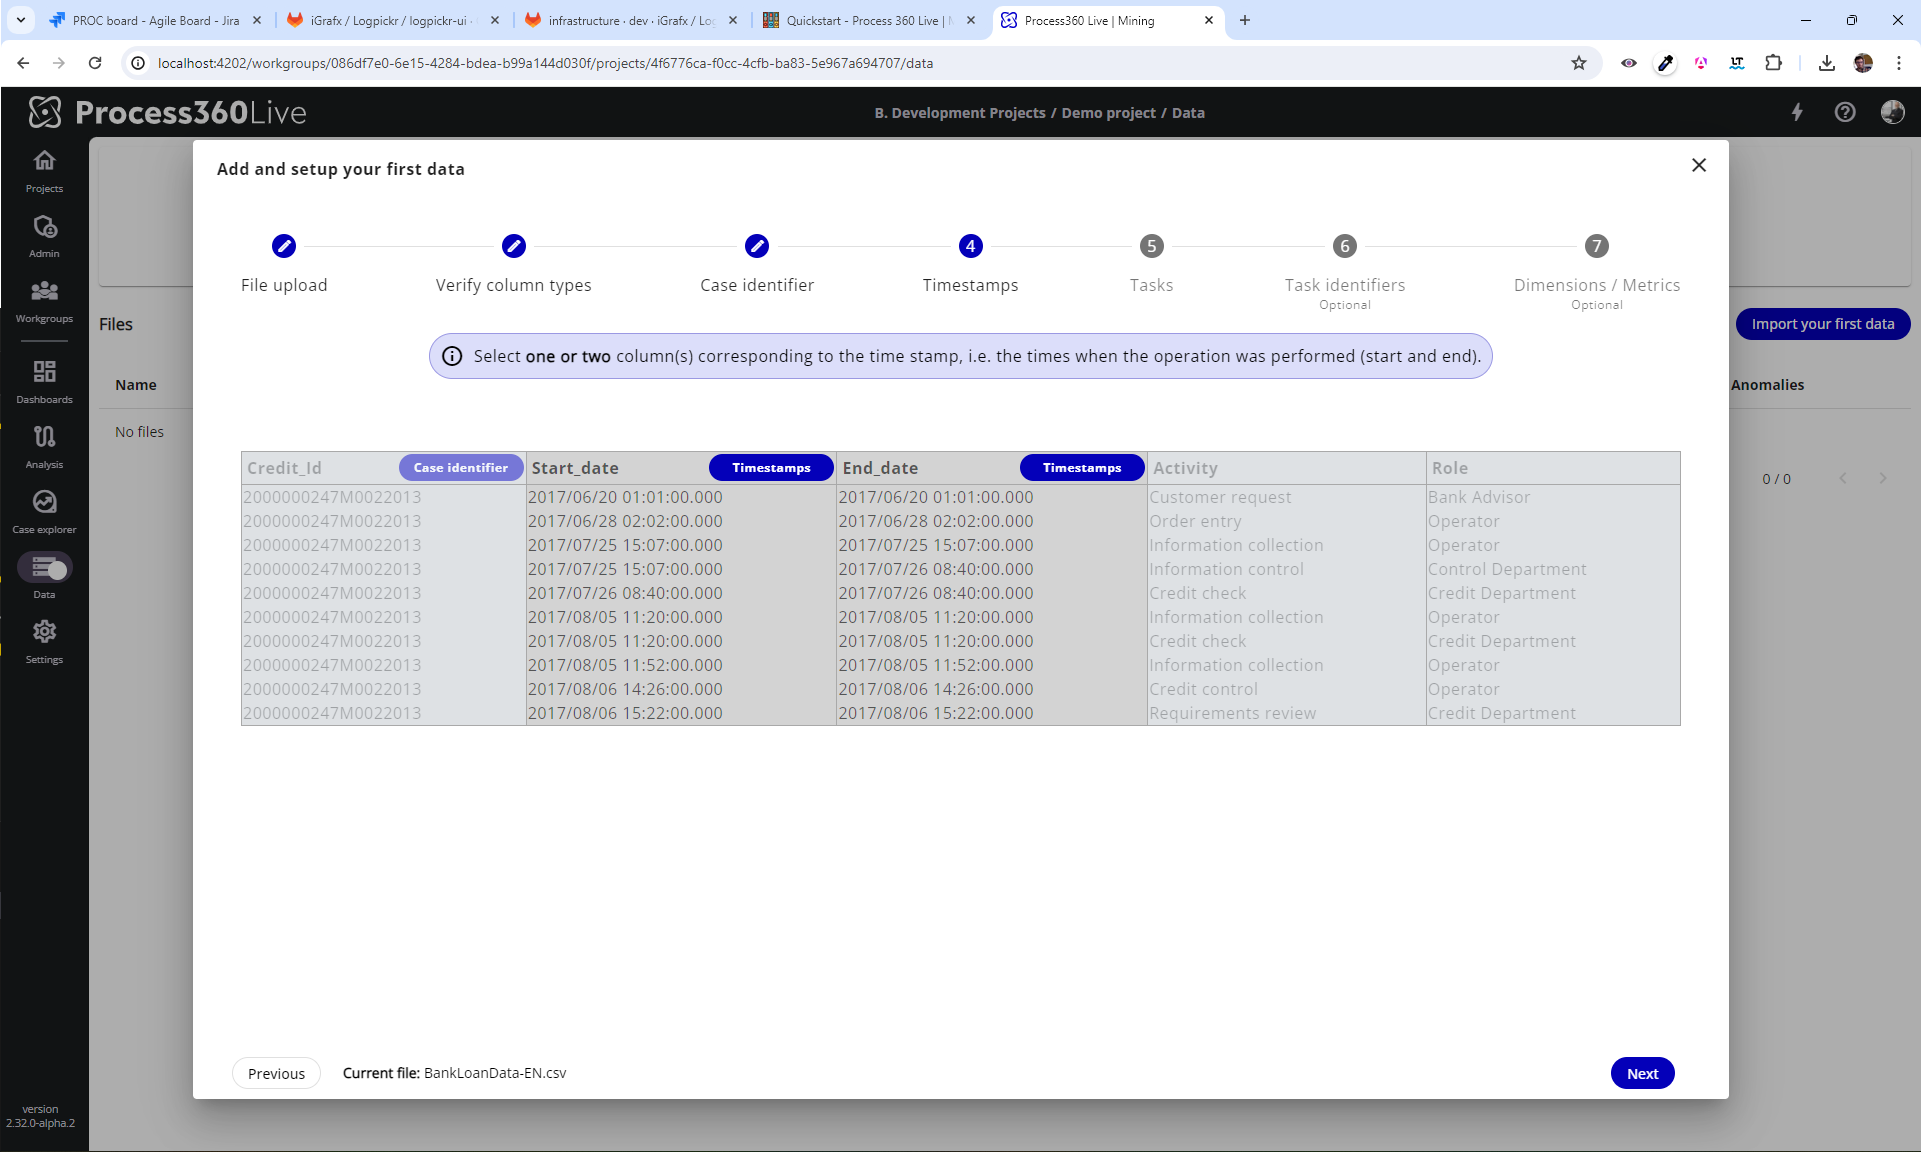
Then, Process360 Live allows you to select the timestamp(s) of your file.
It can be one or two columns, if your dataset includes both start and end timestamp of activities.
One timestamp is sufficient, two timestamps is better to detect task parallelism.
Click once on the "Start_date" column to select it, then once on the "End_date" column to select it.
Tasks selection
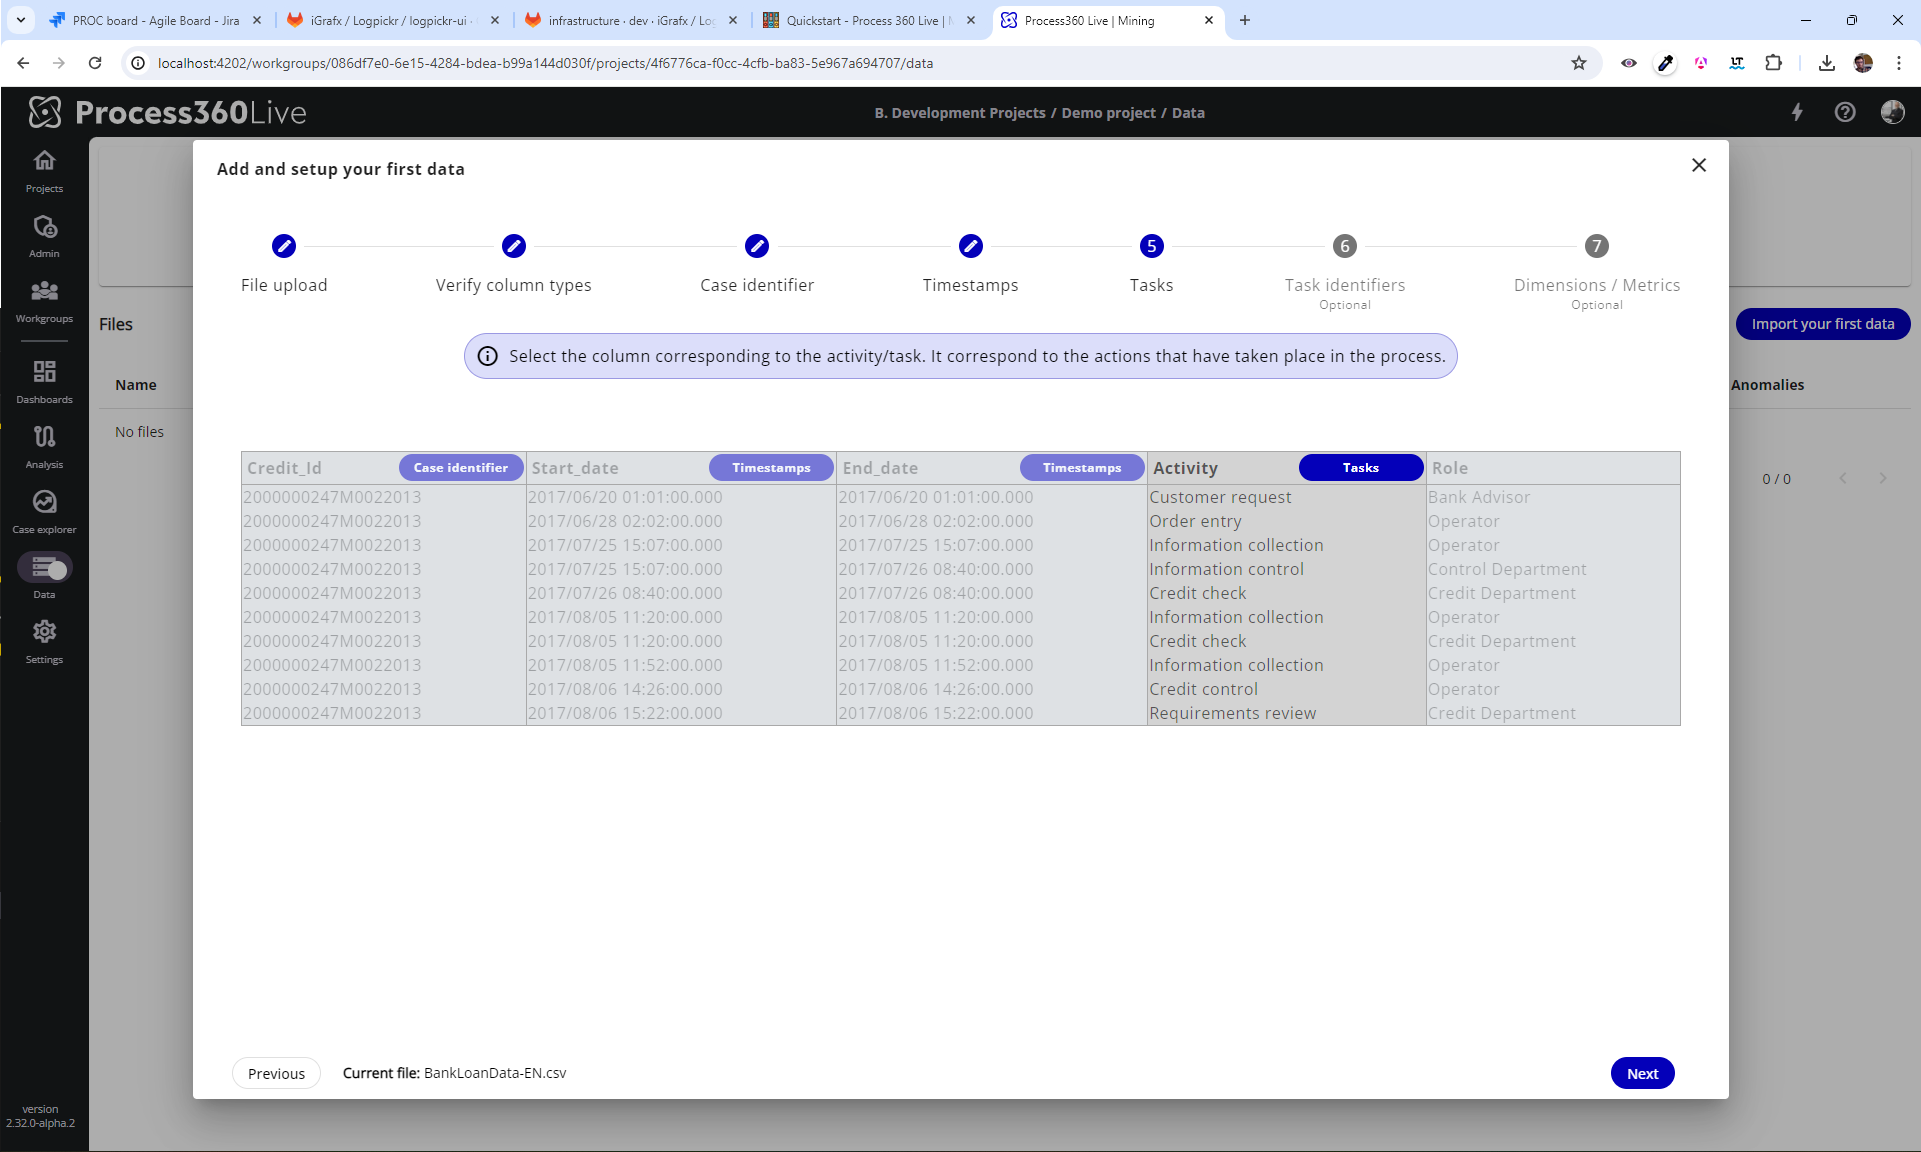
Process360 Live now asks you to select the column representing the tasks, i.e. the stages of the process.
Click on the "Activity" column to select it.
Grouped tasks selection (optional)
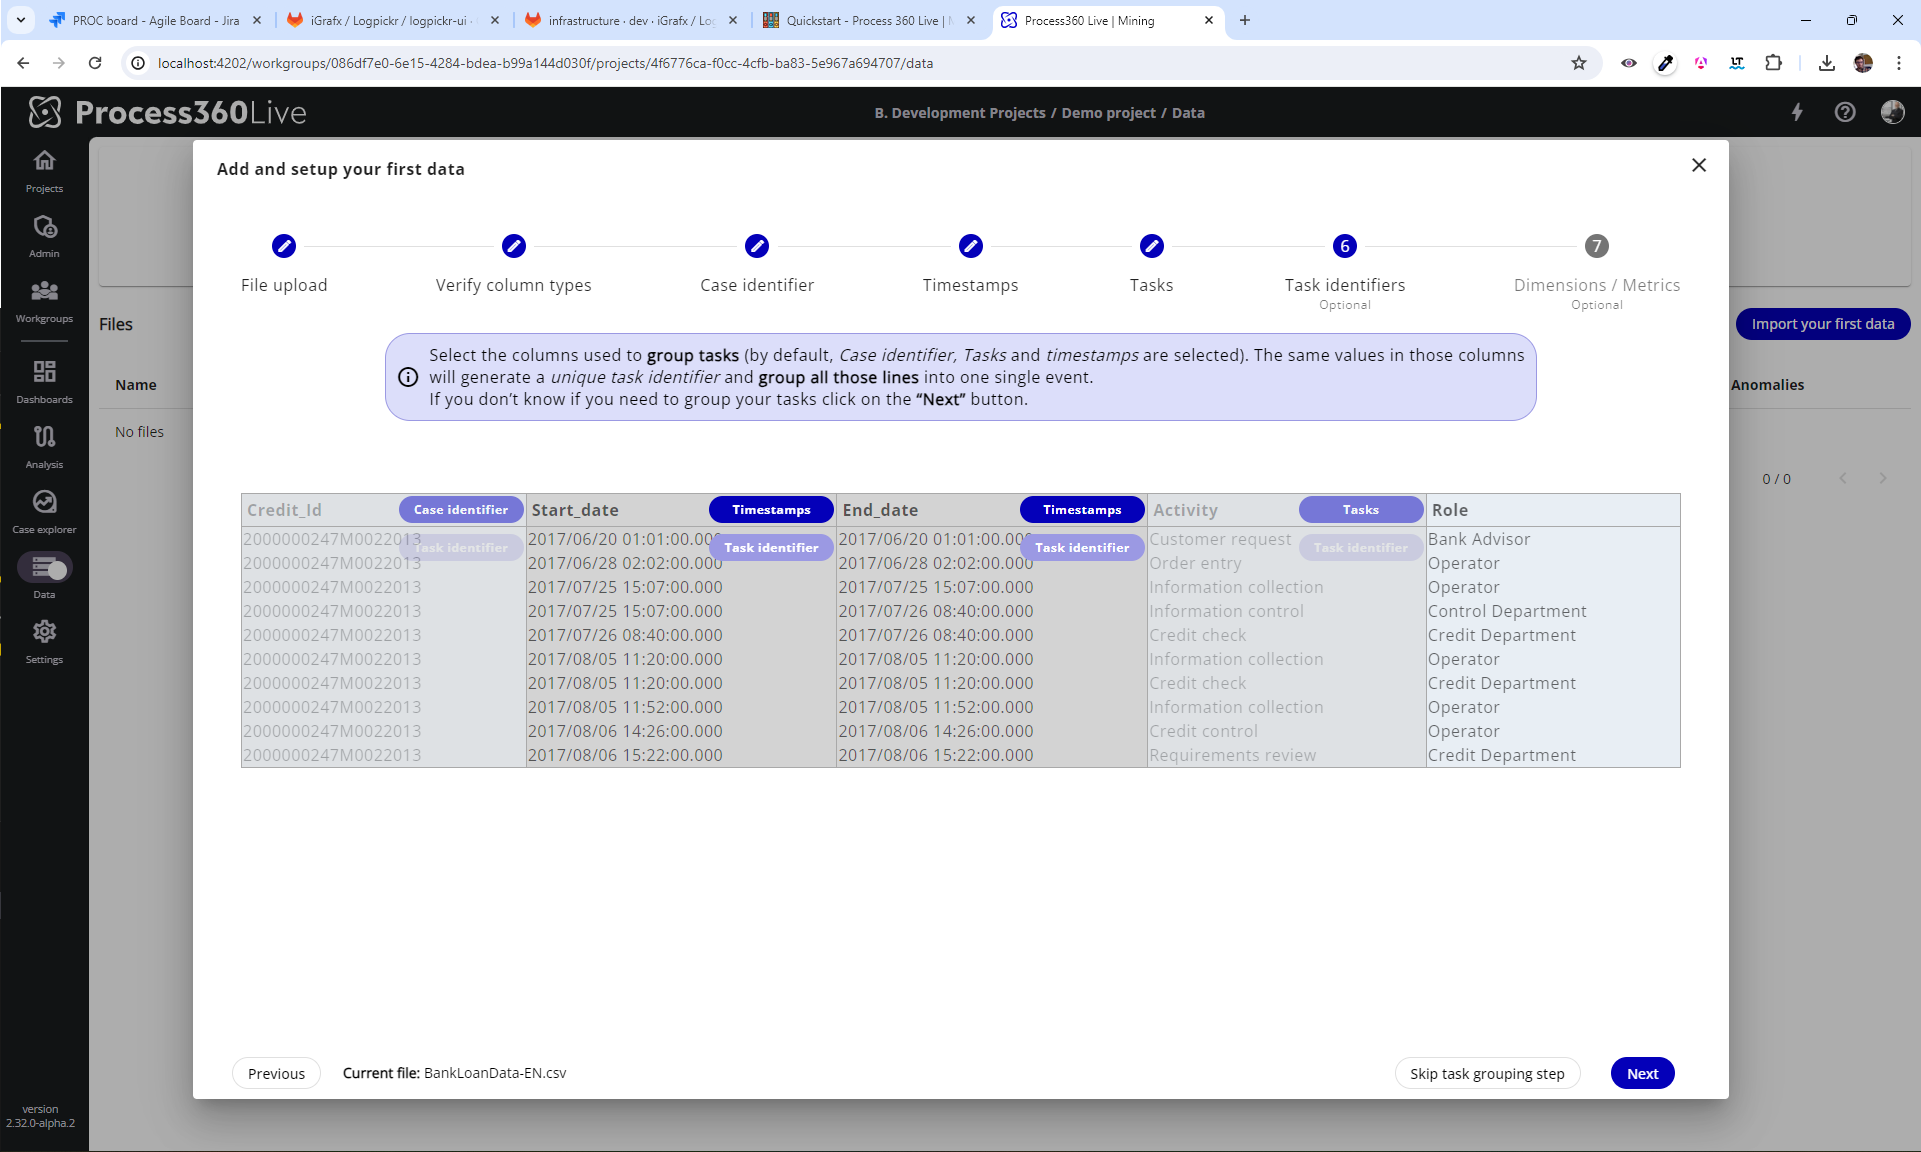
This is an optional step, here we ask you to select any columns in your event log that could help us reduce the duplication of data due to unmatched task name, like a Task ID column for example. By default caseID, timestamps and tasks columns are selected. If several lines have the exact same content for those fields, they will be grouped and considered as a single task.
See Grouped Tasks for detailed examples.
We recommend, if you don't know, to just go to the next step by clicking the "Next" button. Otherwise it is possible to skip the step if you're sure your data doesn't contain possible duplicates or same tasks but with slightly different names, just click the "Skip task grouping step" button.
Other data selection (Additional dimensions/metrics)
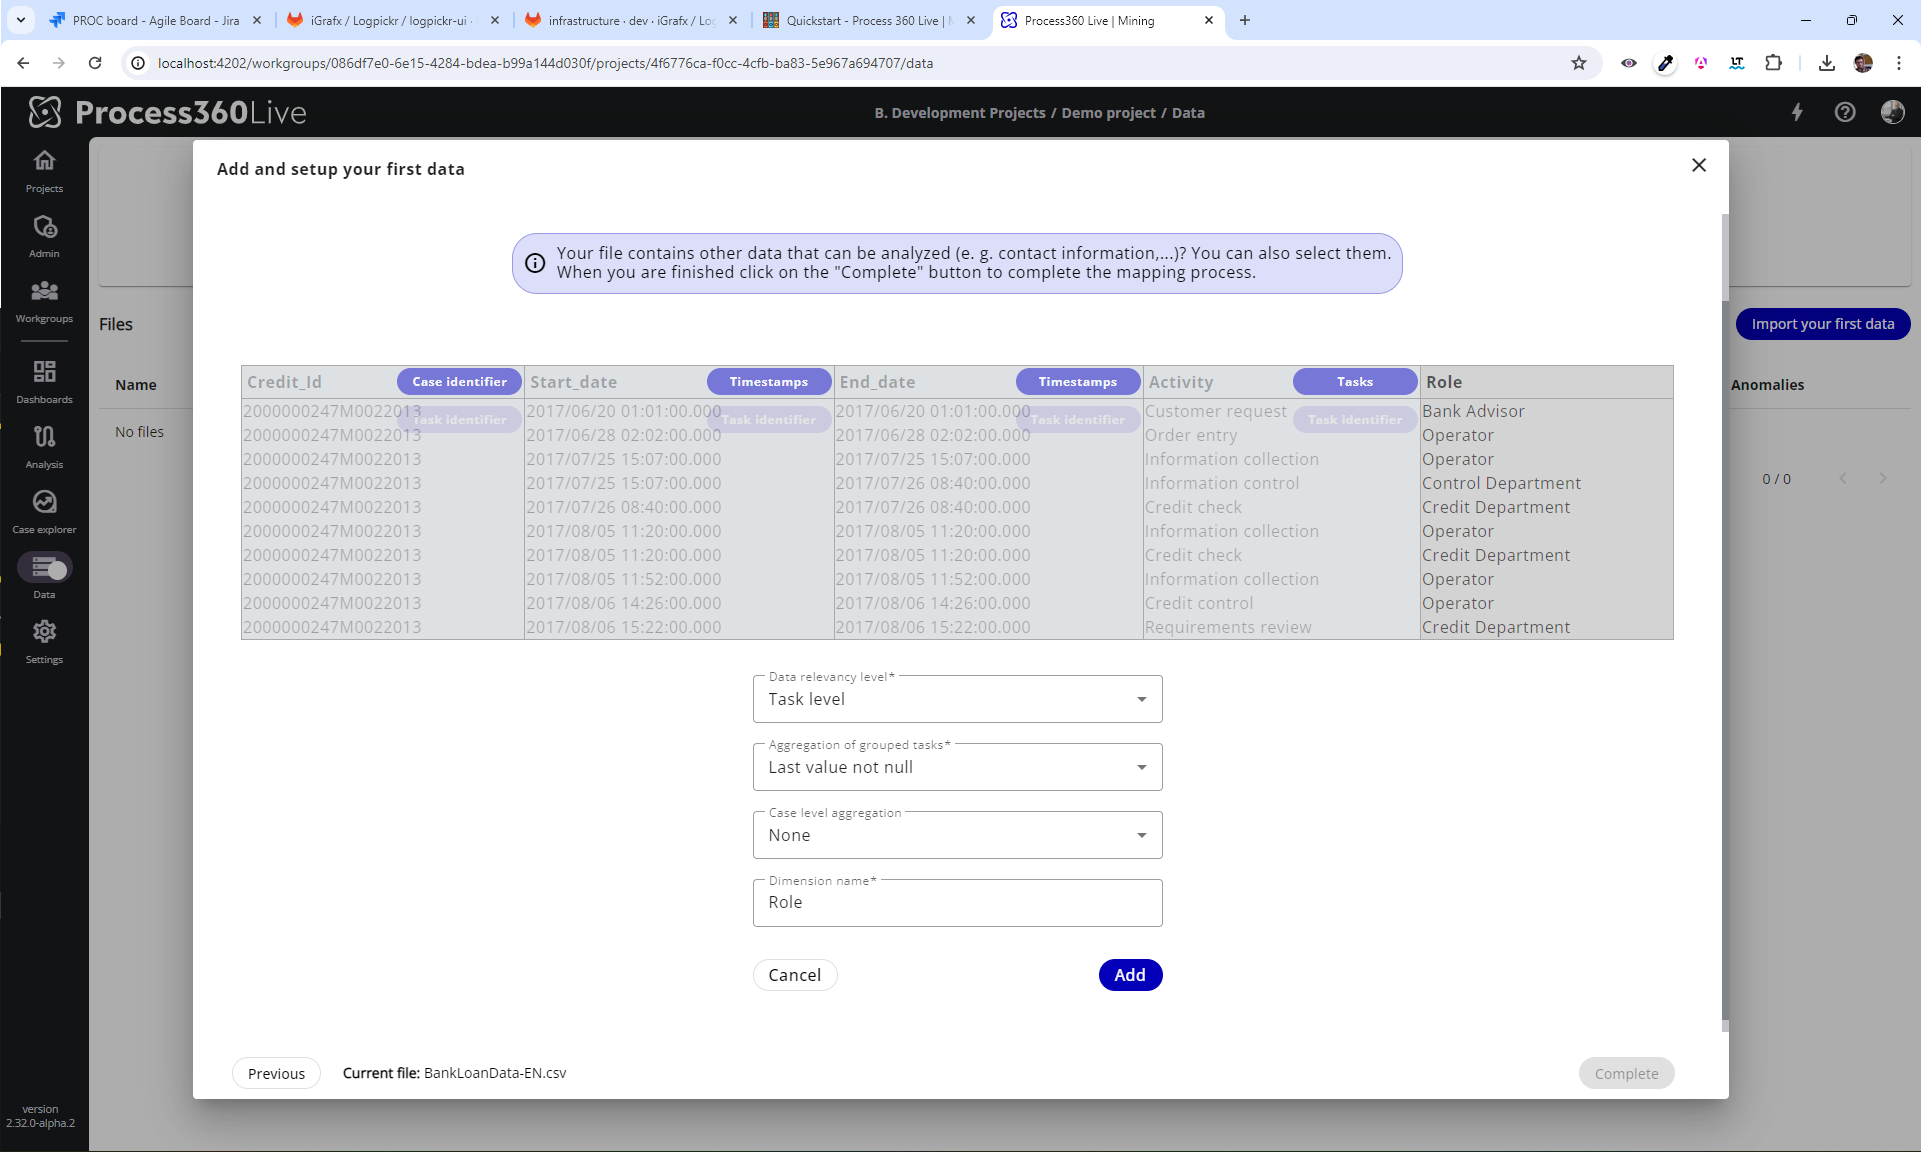
Process360 Live then proposes, if you wish, to add additional columns to improve the analysis. In our example, we will add the column containing the roles linked to each activity.
Click on the "Role" column to select it.
You'll notice that some fields were added below the table, you'd have to decide the characteristics of your additional data:
- Data relevancy level: Does your data is more relevant on a "Task level" (was it measured task by task ?) or is it more relevant on a "Case level" (the measure was taken all throughout the case lifecycle) ?
- Grouped tasks aggregation: If you've decided to group your tasks, in which manner are you going to group their data ?
- Case aggregation: Depending of "Data relevancy level" select in which manner they are supposed to be calculated/aggregated. If you wish, you can edit the name of the selected column in the field provided.
- Data name: The name of the group of values contained in the selected column.
To validate the selection of this column, click on the "Add" button.
Then to complete the characterization of the data, click on the "Complete" button.
Processing
Adding and characterizing the data is now complete. Process360 Live should now process your data (for more details on this step, see the section Project → Add data to a project → Processing the file) ...
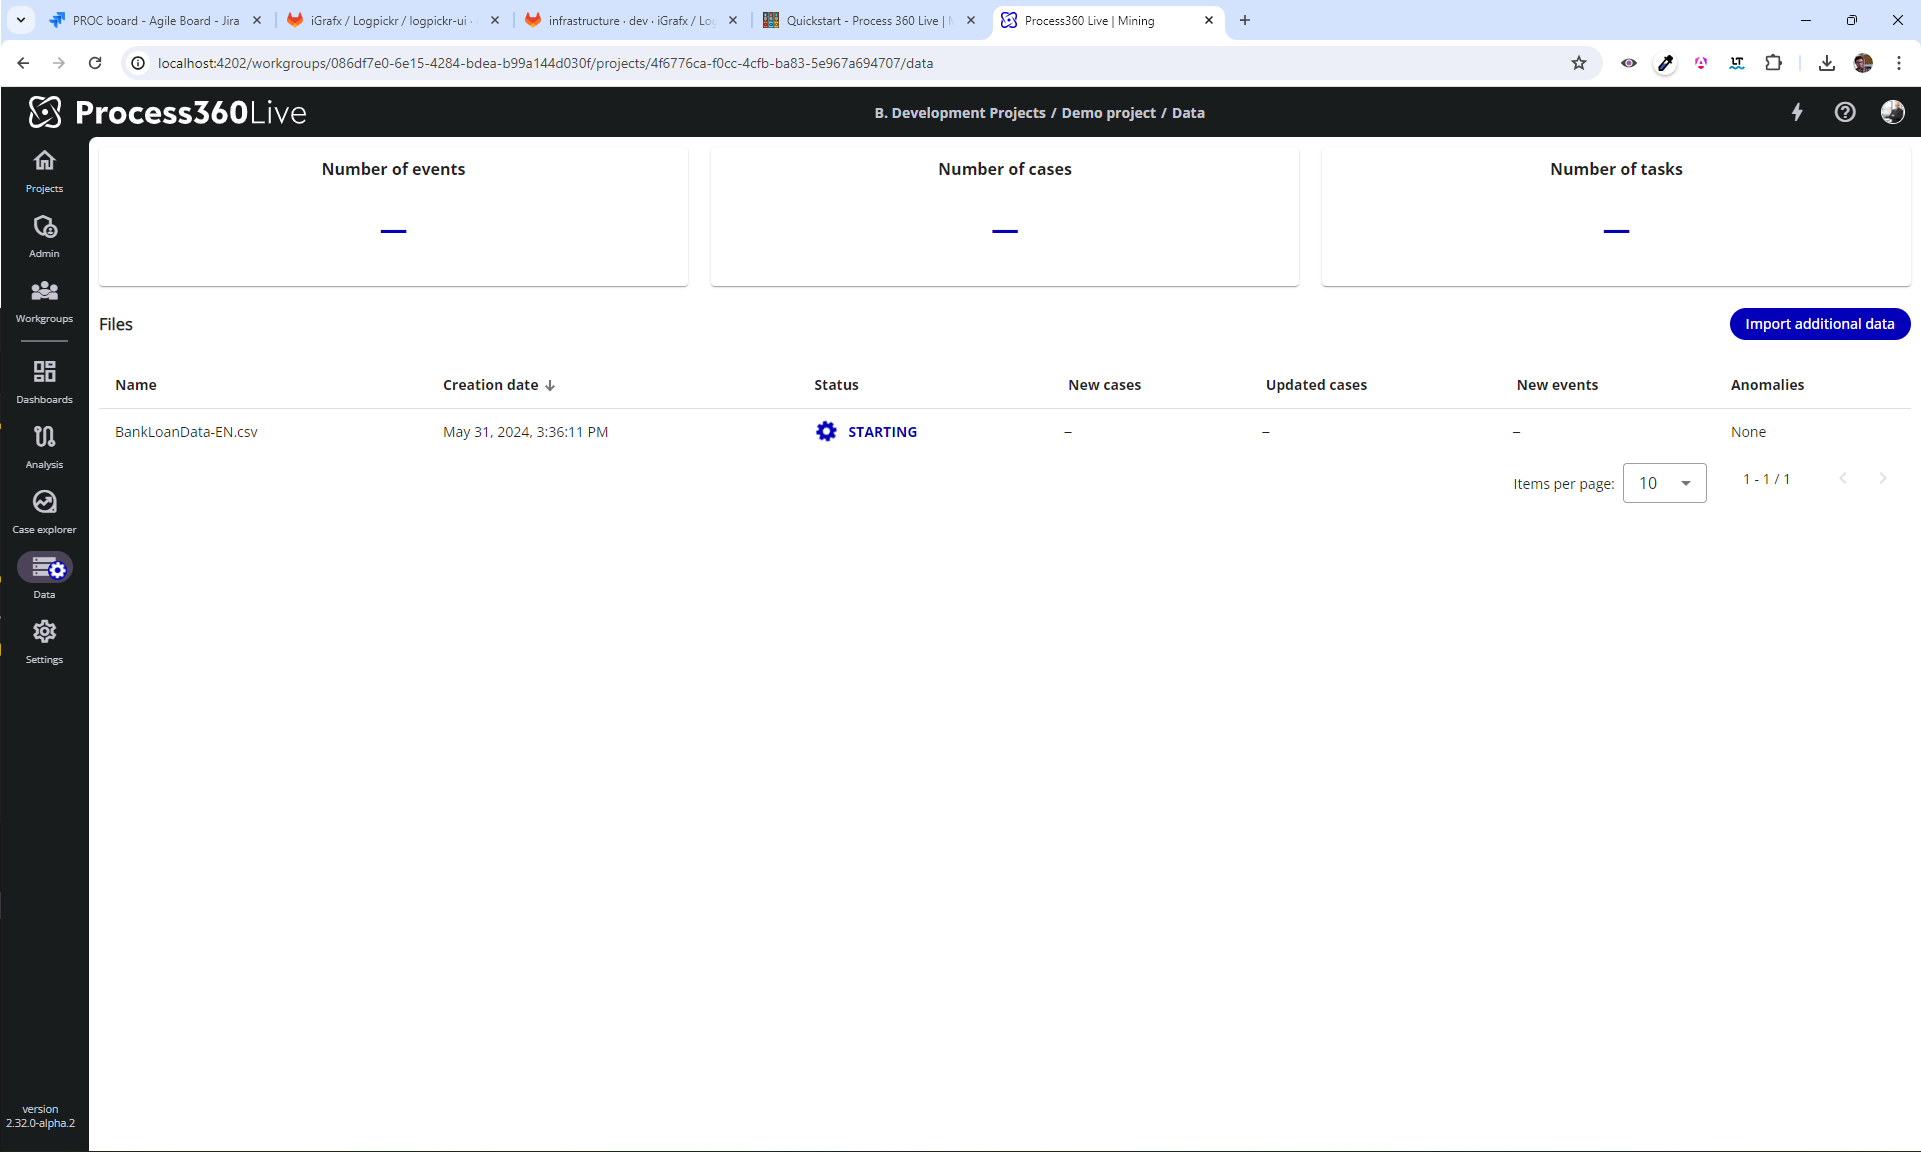
Processing ends when the status of the file and the project have changed to  .
.

3. Start process analysis
Once the data has been processed, you can now start analyzing the process by navigating through the different tabs of Process360 Live:

For more information on these different tabs see the relevant sections: